Home > Runout Checking Fixture
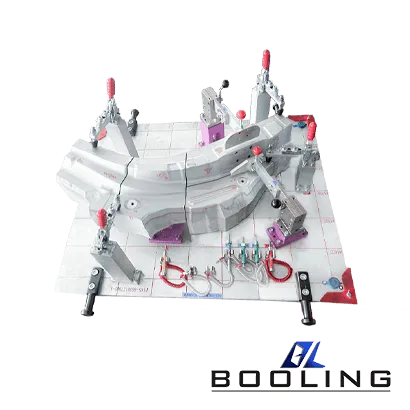
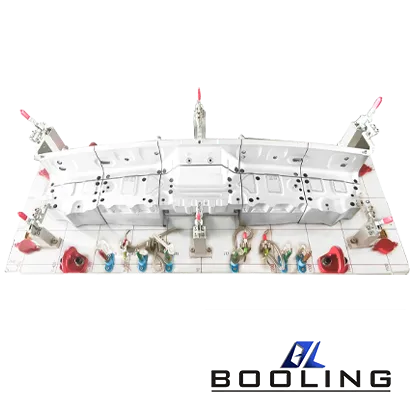
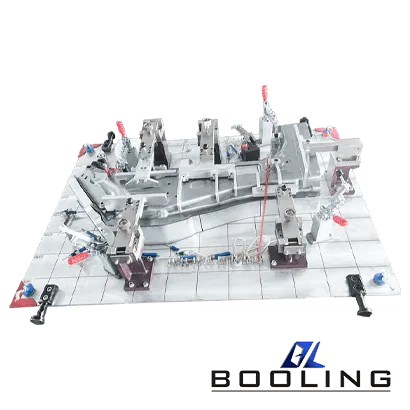
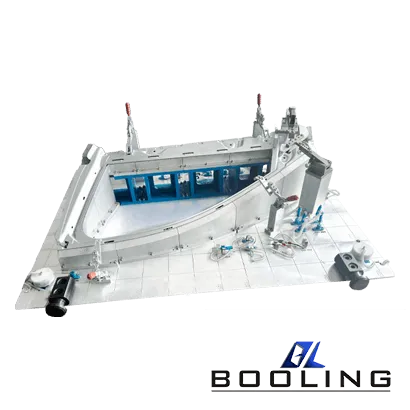
Checking fixture plays an important role in the manufacturing industry, ensuring that the quality of products meets the specified standard requirements. There are various forms of inspection tools, including manual checking fixtures and highly automated checking fixtures.
Advantages of Checking fixture
- Comprehensive Testing
- Product Performance Analysis
- Reduced Field Failures and Warranty Claims
- Streamlined Production Process
- Repeatability and Consistency
Runout checking fixture plays a crucial role in the manufacturing industry, helping to ensure that products fully comply with specified specifications and standards. This device measures the deviation relative to the surface of the object being measured. This variable deviation or variation is manufactured by rotating a component on a fixed axis. Runout fixture testing is used to confirm the accuracy and quality of products after production to ensure they meet standard requirements. The function of this device is to continuously output key components with consistency and accuracy, ensuring that each component meets the required dimensions and tolerances through accurate measurement and inspection. This not only improves the quality of the components but also reduces material waste and issues with remaking.
Another advantage of fixture testing is that they are crucial components for improving production efficiency, as they can achieve a fast and reliable inspection process, utilizing automation for rapid detection. By installing designed gauges on the assembly line, operators can easily operate, improve productivity, and achieve efficient testing. It is also important to quickly detect deviations from standards in the early stages of production, and if serious problems are found, immediate corrective measures need to be taken to avoid serious problems with the inspection tools. By identifying problems early and implementing solutions quickly.
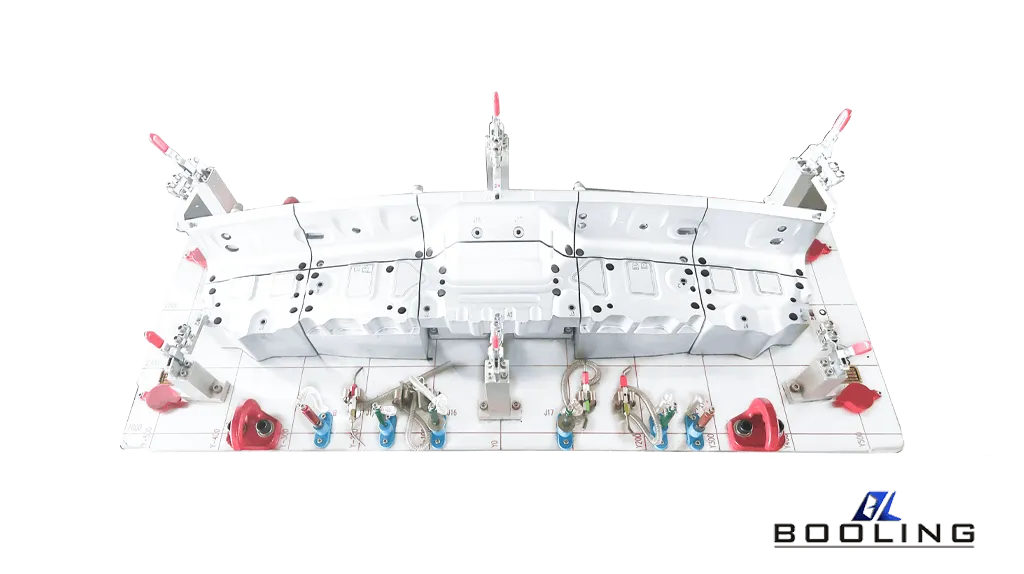
Design Principles of Runout Checking Fixture
There are many principles in the design of runout checking fixture, and the design principles of runout checking fixture mainly refer to the aspects that need to be considered when designing a qualified inspection tool, which are mainly divided into three aspects: 3 accuracy, 2 convenience, and 1 practicality. The design principle of gauge design is a comprehensive design principle that emphasizes accuracy, convenience, and practicality to design and produce high-quality gauge products. This principle is applicable in many fields, not only to traditional mechanical processing but also to modern CNC machining and intelligent manufacturing.
1.Three Accuracies
Measurement error:The difference between the measurement results of the measuring tool and the actual value of the measured product ensures that the measurement error of the measuring tool is within the specified error range. Technicians must choose measurement principles and materials that meet the requirements, as well as processing technology and design, to limit the measurement errors of the inspection tool during the design process.
Reproducibility:Reproducibility refers to the consistency of the measurement results obtained by the operator of the measuring tool under the same measurement conditions, and the higher the reproducibility of the measuring tool, the better. There are many methods in the design process of inspection tools to ensure their reproducibility, usually through the use of appropriate support, positioning, clamping, and other methods.
Repeatability:If different operators use the same measurement conditions, the measurement results are consistent, even in the case of multiple measurements, and the higher the repeatability of the measuring tool, the more benefits it brings. Technicians can adopt standardized design and process flow in the process of fixture design to ensure the repeatability of the fixture.
2.Two Conveniences
Convenience of use and manufacturing
One of the conveniences is the ease of use, which refers to the operating experience of the gauge operator when using the gauge. The better the convenience of using the gauge, the shorter the testing time. In the design of inspection tools, technicians will pay attention to many factors of the inspection tool, mainly including the weight, volume, and shape of the inspection tool, handle, identification, and other factors. And the key points to pay attention to when using inspection tools and how to operate them. Another convenience is manufacturing convenience, which refers to the simplicity of the manufacturing process and the rationality of the cost, requiring the better manufacturing convenience of the inspection tool. In the process of designing inspection tools, generally, easier-to-operate components and process flows are selected, and factors such as material reliability, weight, shape, as well as possible problems and risks that may arise during the manufacturing process of inspection tools are fully taken into consideration.
3.A Practicality
Practicality refers to the actual application effect of the inspection tool, which requires the inspection tool to have better practicality. In the process of fixture design, full attention should be paid to the characteristics of the measured product, whether the measurement environment conditions meet the requirements, and the operability of the fixture, to determine whether the designed fixture is suitable for practical application scenarios.
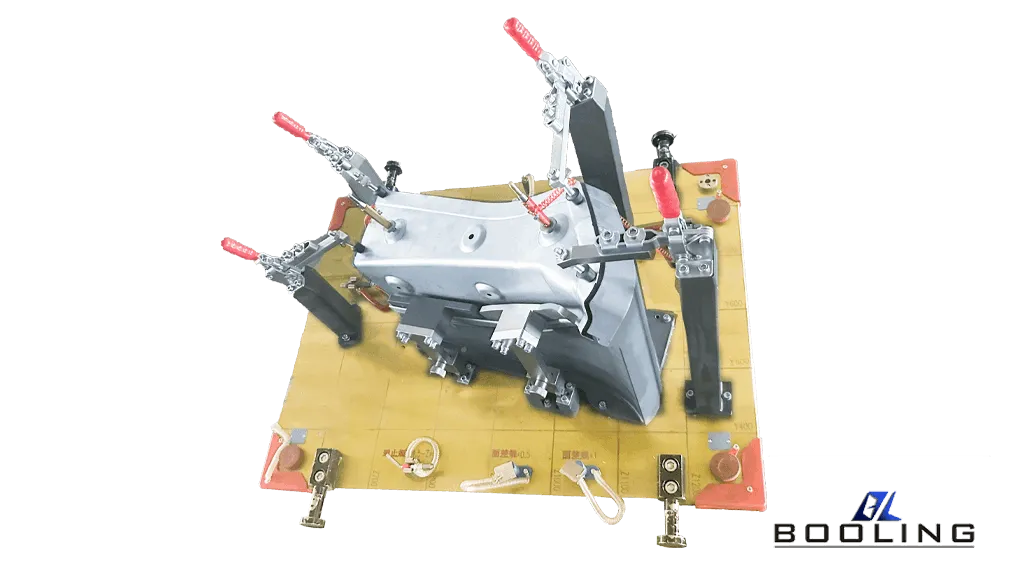
Maintenance of Runout Checking Fixture
The maintenance of the runout checking fixture plays a very important role in accuracy and reliability. There are many steps to maintenance, and the following are mainly the key points and precautions for tool maintenance:
1.Apply Anti-rust Oil: The inspection tool is made of metal materials, which are easily affected by external factors such as moisture and humidity, which can cause rust on the metal part. Technicians can effectively prevent rusting by applying a thin layer of rust-proof oil or rust inhibitor to the surface of the inspection tool and storing it in a dry and ventilated place. In addition, avoid exposure to humid environments and acidic substances, and regularly inspect and promptly address any rust that may occur.
2.Cleaning: Timely cleaning of inspection tools by personnel is the key to maintaining their normal operation. Be sure to use appropriate cleaning agents and soft cloths, and gently wipe the surface and contact areas of the gauge to ensure the removal of impurities such as dust, dirt, and grease. Avoid using rough materials or chemicals to avoid damaging the surface of the gauge.
3.Correct Operation: The correct use of inspection tools is the key to maintenance. If gauges are overused or overloaded, it can result in damage to their structure and accuracy. When using inspection tools, it is important to follow the correct operating methods and usage standards. If operated correctly, collisions, falls, or excessive external forces will not occur.
4.Regular Calibration: Due to the prolonged use time, the accuracy of the measuring tool may undergo significant changes, so the step of regular calibration cannot be omitted. Develop a calibration plan for gauges based on usage frequency and regulatory requirements, and calibrate them through a professional calibration agency. The calibrated gauge must be labeled with the date and calibration result, to help with the next search and save time.
5.Placement Environment: After each use of the inspection tool, properly protect and store it. Place the gauge in a dry, clean, and dustproof place to avoid contact with other hard or sharp objects, to prevent scratching or damage to the gauge. In addition, for gauges with special requirements, specialized protective sleeves can be used for special protection.
6.Regular Maintenance: In addition to cleaning and calibrating the Runout checking fixture, operators will also perform regular maintenance and upkeep on some gauges. This may include lubricating moving parts, replacing worn parts, or adjusting the tightness. Develop corresponding maintenance plans based on the type and requirements of the inspection tools, and strictly follow the operation manual.
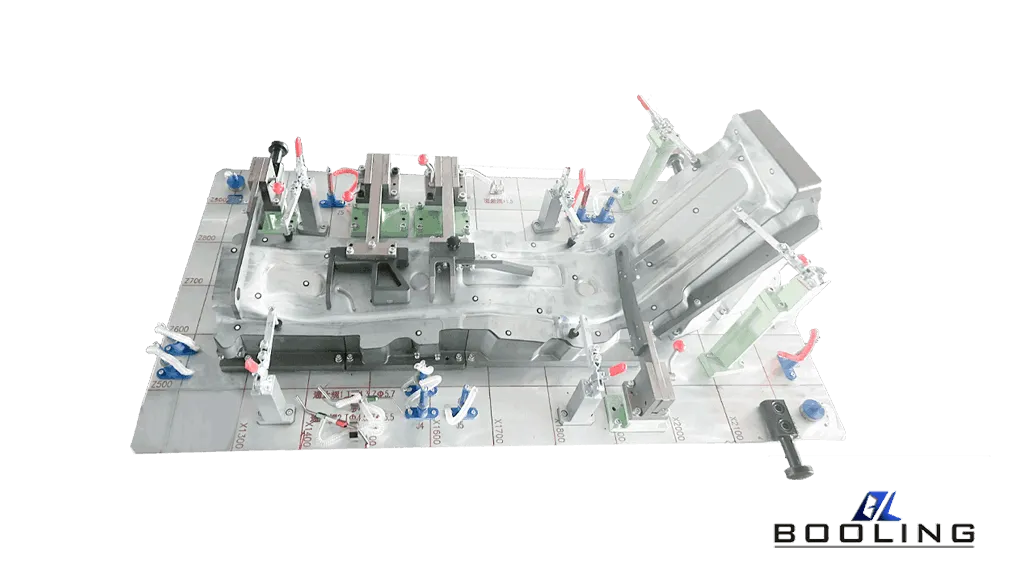
Design Standards for Runout Checking Fixture
Comprehensive quality control measures are implemented through runout checking fixture, and in general, the quality of products is improved by continuously producing products that meet the requirements. Gauges are an important component of manufacturing operations, as they can ensure accuracy, improve efficiency, reduce errors, and improve overall product quality, which is an important aspect of success in today’s highly competitive market. When using gear Runout checking fixture, operators should pay attention to the stability of the equipment and avoid factors such as high temperatures that may affect the equipment. To improve the efficiency and accuracy of gear bearing runout detection, it is necessary to regularly maintain and calibrate the equipment, and also ensure the accuracy and stability of the equipment.
The calibration standards for jump testers mainly include the following methods:
Calibration device: The straightness of the standard core shaft should not exceed 2 μ m, and the range of circular runout of the outer circle of the core shaft relative to the top hole must be less than 2 μ m. Calibration includes the fixed center line connecting the two centers of the skateboard for longitudinal movement, parallelism, positioning repeatability, and the parallelism of the center line connecting the movable center line with the guide rail. The error range of the dial indicator equipped with a jumping gauge can only be a difference of 5m between the upper and lower values. The characteristics of measurement mainly include that the dial gauge must meet the requirements of the calibration regulations. The parallelism of the connecting line between the fixed top and the center of the active top to the guide rail must be less than the requirements in the table.
Operating standard for runout checking fixture: The operator must be proficient in the operation skills of the equipment, carefully maintain and upkeep it, and designate a dedicated person to use it. The standard for using jump checking fixture before installation must be to keep the equipment undamaged, place the equipment in a flat place, and ensure that the guide rail surface is smooth and free from bumps and scratches. This standardized procedure ensures the accuracy and reliability of the jump tester, which is crucial for ensuring precise control of product quality and process flow.
Checking Fixture Related Content
Applied’s expertise in modifying materials at atomic levels and on an ihdustrial scaleenables our customers to transform possibilities into reality.

