Home > What is Checking Fixture?
What is Checking Fixture?
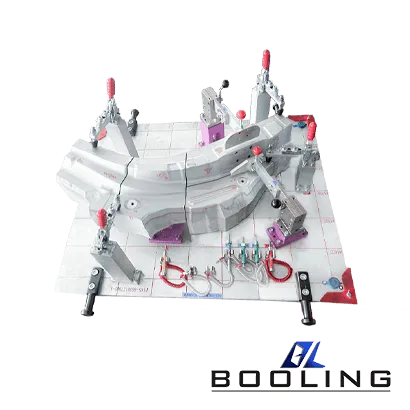
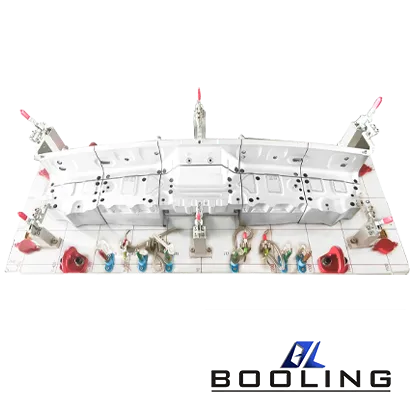
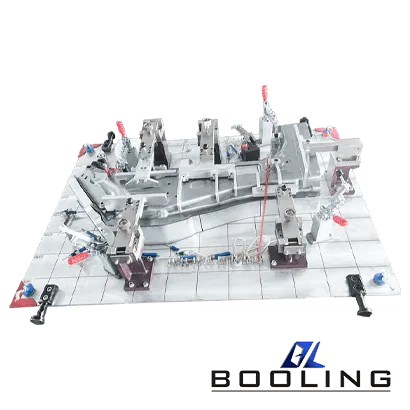
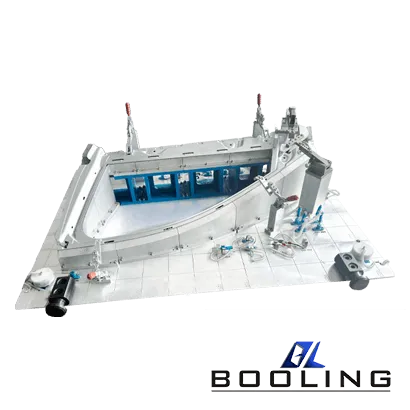
The types of checking fixtures include: coordinate measuring machine (CMM) fixtures, application type inspection fixtures, fixed gauges, progressive metal matching (PIMM) fixtures, and gauges to ensure that the workpiece meets standard requirements.
- High-precision measuring instruments
- Analysis using DMF technology
- Suitable for measuring stamping parts, injection molded parts, and machined parts.
A checking fixture is a quality assurance tool used in industries to check for the quality of components with complex shapes. They aren’t used in making components but to accept or reject already-made components according to dimensional accuracy. The fixture testing provides a certification that the product satisfies all the requirements for a safe operation.
A checking fixture is similar to a gauge except that it can hold the part it measures. It can accommodate any number of gauging devices while holding the part to be inspected. Manufacturers seek help in checking fixtures to inspect the dimensional accuracy of their products.
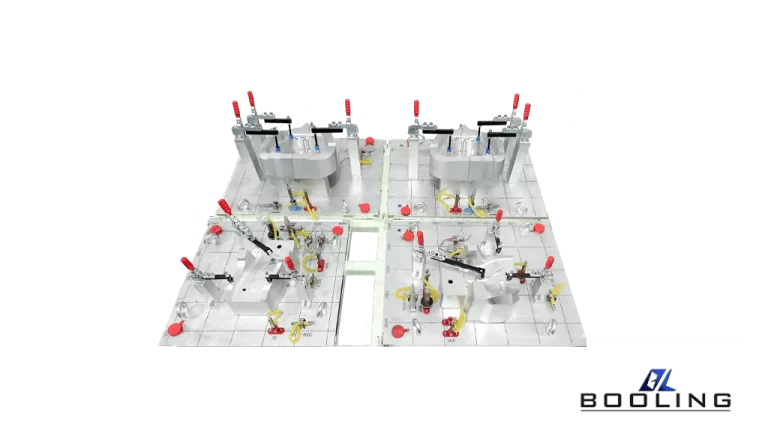
Types of Checking Fixture
- Stationary Checking Fixture
It is a stationary fixture that consists of a frame that is present on a floor or a table and the part to be inspected is brought and mounted on it. Once the part is positioned properly on a fixture frame, the other gauging devices are employed. These gauging components may or may not be attached to the frame. Sometimes the frame may have the structure to hold the part and the series of checking surfaces are placed at some distance from the part. A feeler gauge is inserted between the part and the check surface to confirm the correct shape of the part.
- Apply-Type Checking Fixture
The Apply-type checking Fixture operates exactly opposite to the standard checking ones. These fixtures are loaded onto the larger parts or assemblies and inspected for the dimensional and profile accuracy of the parts. Some heavier parts, automobile components, in particular, can’t be placed on a fixture. But all the differences in accuracy can lead to product failure costing thousands of dollars. The apply-type fixture does the work in such cases. They are carried to desired locations and loaded onto the parts that are to be measured for accuracy.
- Coordinate Measuring Machine (CMM) Fixture
A Coordinate Measuring Machine (CMM) is a measuring device to inspects the physical geometry of an object by sensing discrete points on the surface of the object or a part using a sensing probe. When the probe touches a surface, the transducer records the input and sends it as an electric impulse to the computer.
The computer then interprets the signal and registers its location in space. The points are recorded in terms of (X, Y, Z) with X, Y, and Z being distances of each point in X, Y, and Z directions from the origin (0,0,0) using a cartesian coordinate system. The CMM fixture is made to hold the work part in the exact position as in actual operation. A known point in space is located on the fixture or on the part to be inspected and the CMM is located relative to that point. It starts to inspect other points on the workpiece to determine their locations. The dimensional and positional accuracy of the complex and intricate shaped parts or sub-assemblies can be measured using the CMM fixture.
- Progressive Inspection Metal Match(PIMM) Fixture
While manufacturers have other fixtures to inspect an automobile’s parts, they are not suitable for checking a newly designed car or its prototype. To avoid such a blunder, the PIMM fixtures are used. These fixtures confirm whether all the sheet metal parts of the assembly fit together in the prototype stage itself. The PIMM fixture comes with a huge frame, a series of locators to mount the panels, and a clamp to hold the panels in position.
Each prototype panel is placed on its locators and positioned using clamps. This is repeated until the entire side of the vehicle is made up virtually. All of them should fit on the fixture accurately. Inspect the fits and clearances with the feeler gauge and check for any misfits or errors. If everything sits well, then the parts are within acceptable limits.
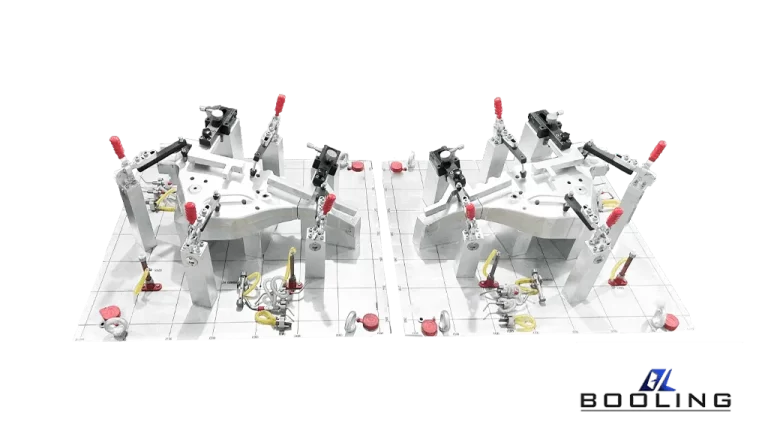
The Usage Scenarios of Checking Fixture
Checking fixtures can be widely used in various industries and production fields, such as mechanical manufacturing, automotive manufacturing, electronic manufacturing, aerospace, etc. Their application scenarios mainly include the following aspects:
- Processing and Assembly of Precision Components
In the fields of mechanical manufacturing, automotive manufacturing, electronic manufacturing-
fracturing, etc., the dimensional accuracy requirements of products are very high, and checking fixtures is an important tool for measuring and inspecting the dimensional accuracy of products.
- Assembly and Commissioning of Large Mechanical Equipment
checking fixtures can also be used for the assembly and debugging of large mechanical equipment and facilities to ensure the safety and stability of mechanical equipment and reduce the probability of equipment failure.
- Accuracy Assurance of Tooling Fixtures
In the production and processing process, checking fixtures is an important tool for positioning and fixing workpieces. Checking fixtures can inspect and evaluate the dimensional accuracy and quality of fixtures to ensure their stability and reliability of accuracy.
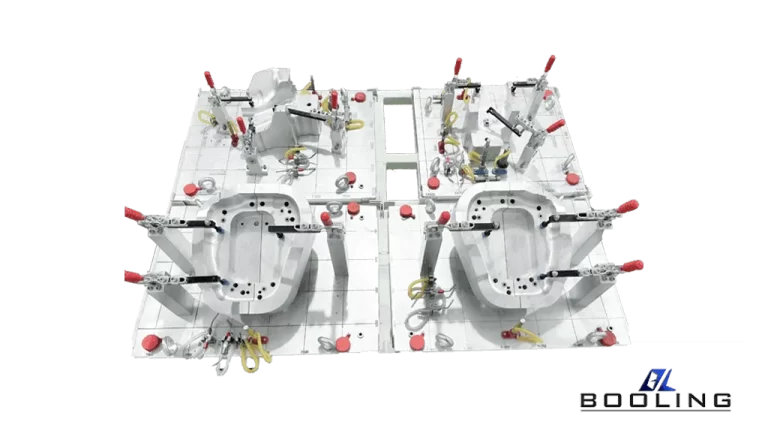
A checking fixture is a very important tool for manufacturers and large machinery and equipment users that is widely used in different production fields and application scenarios. Mastering its role and application scenarios can improve product quality and efficiency in production and processing, ensuring safety and stability in production.
Guidelines for Checking Fixtures
The checking fixture is a precision tool used in large-scale products such as automobiles, home appliances, and industry. It is used to check and verify the concentricity, runout and other dimensional standards of parts through various inspection and test methods to ensure that they meet the required specifications.

